Installing and Setting Up Samba on Ubuntu
The majority of Linux package managers come pre-installed with Samba. To set up Samba on Ubuntu, take the following actions:
Step 1: Install Samba in the First Step.
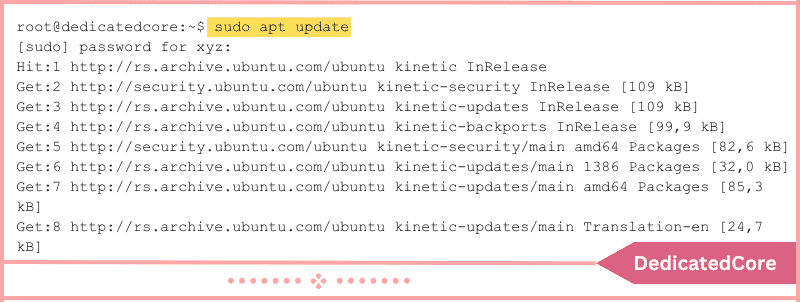
1. First, do the package registry updates:
sudo apt update
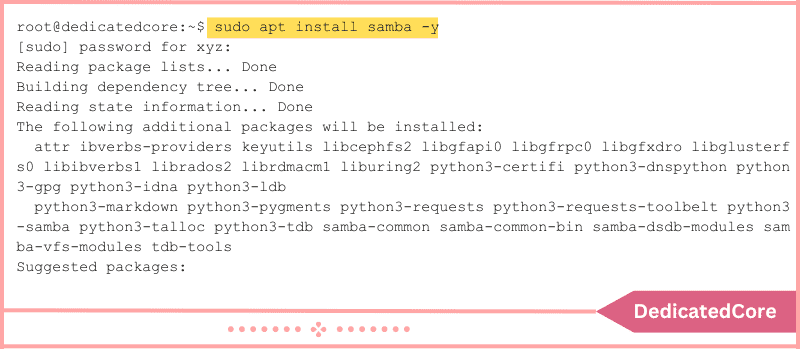
2. After that, install Samba using apt. To have any questions automatically approved during installation, include the -y argument:
sudo apt install samba -y
3. Use to confirm the installation:
whereis samba
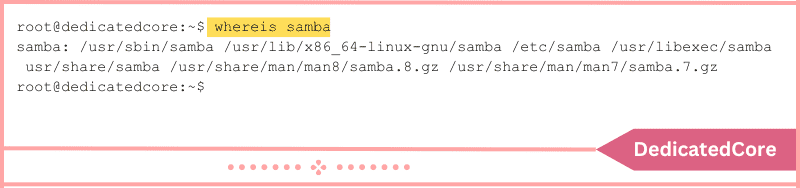
The output displays the Samba-containing directory. Checking the Samba version is another way to confirm the installation:
samba -V

The report indicates that Samba version 4.16.4 was installed on the machine.
4. Finally, make sure Samba is operating using:
systemctl status smbd
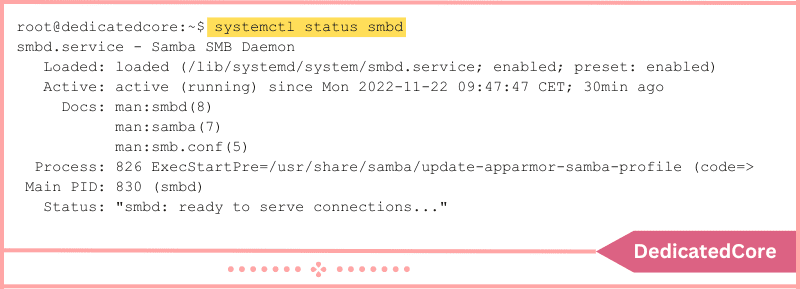
The output demonstrates the active and enabled state of the SMBd service.
Step 2: Establish a Public Directory
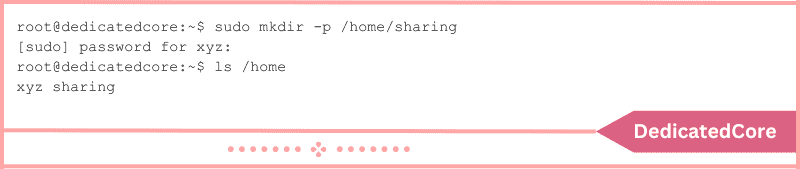
1. Create a directory holding files for sharing to share files with Samba. To create the directory under /home, use mkdir -p:
Create a directory named “sharing with,” for instance.
sudo mkdir -p /home/sharing
2. Verify the result with ls.
ls
Step 3: Set Up Global Preferences for Samba
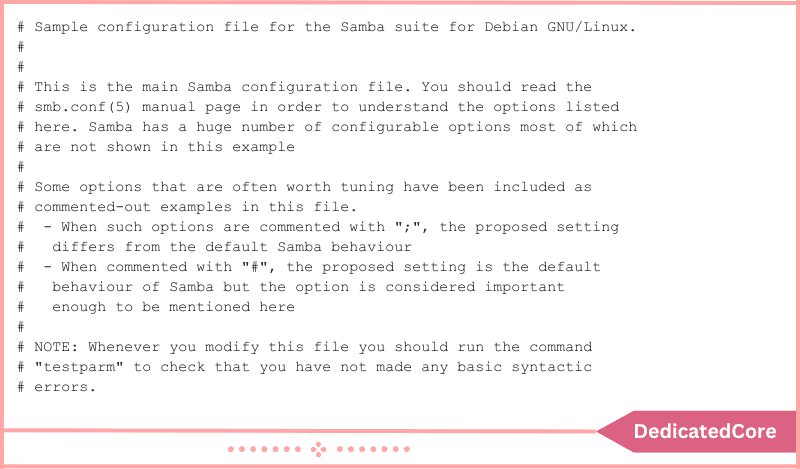
Modify the smb.conf file in /etc/samba/smb.conf to configure Samba.
Use Vim to access the file:
sudo vim /etc/samba/smb.conf
Next, find the Global Settings section by scrolling down. This part allows you to set up the network interfaces, name, role, and behavior of the Samba server.
The following subsections contain the important factors to take into account:
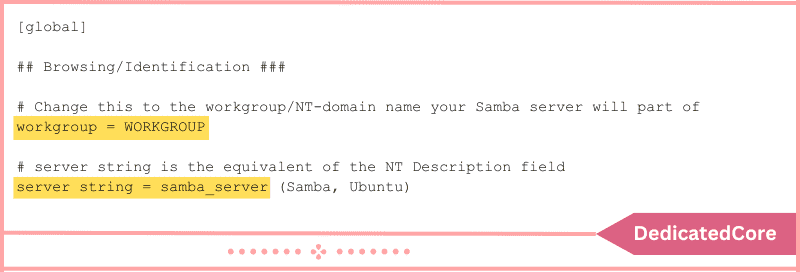
Parameters of Browsing/Conclusion
The workgroup and server string parameters are in the Browsing subsection:
- Using a local area network, file sharing between a group of computers is made possible via the workgroup parameter. Make sure the Windows settings and the workgroup settings match.
- The Samba server is identified by the server string setting. The server in our example is called samba_server.
Uncomment the workgroup and server string options and add these values to configure the identification settings:
workgroup = WORKGROUP
server string = samba_server
Networking
To set up network interfaces that Samba binds to, use the Networking subsection. There are two parameters in networking:
- The network interface that Samba will bind to is specified by the first option, interfaces.
- Samba will only bind to the interfaces specified in the file if the second parameter, bind interfaces only, is used. The parameter ought to be set to yes at all times.
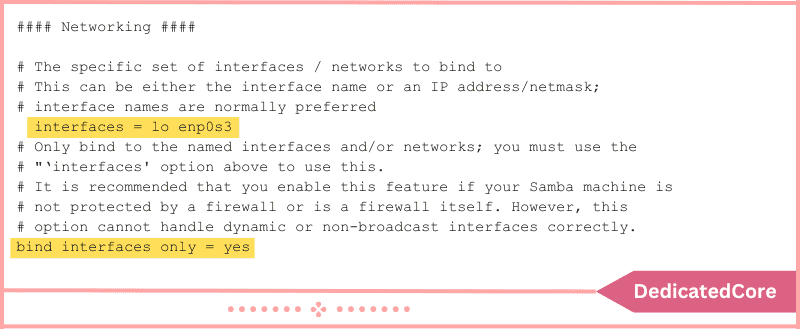
Use the ip command to see which interfaces are available before setting the interfaces parameter:
ip link
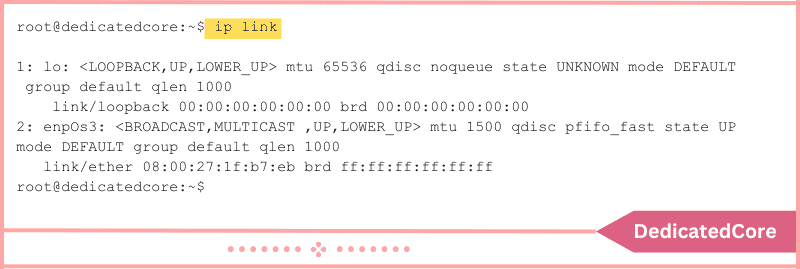
Samba is bound to two interfaces, according to the example output: enp0s3, which is the network interface, and lo, which is the loopback interface.
For instance, the settings in this instance are:
interfaces = lo enp0s3
bind interfaces only = yes
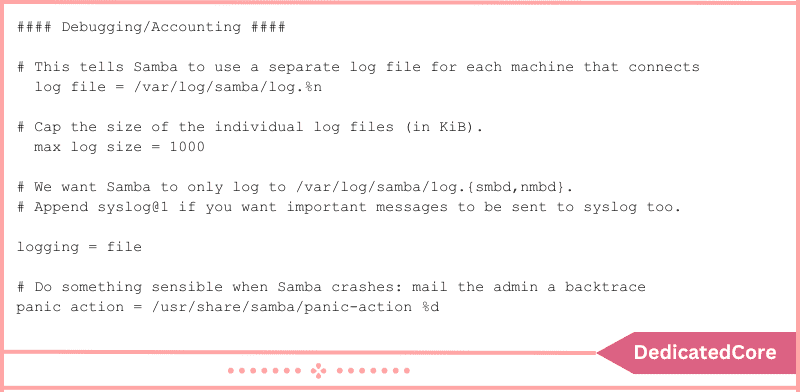
Troubleshooting
The part on Debugging comprises four factors. Arrange them as follows:
log file = /var/log/samba/log.%m
max log size = 1000
logging = file
panic action = /usr/share/samba/panic-action %d
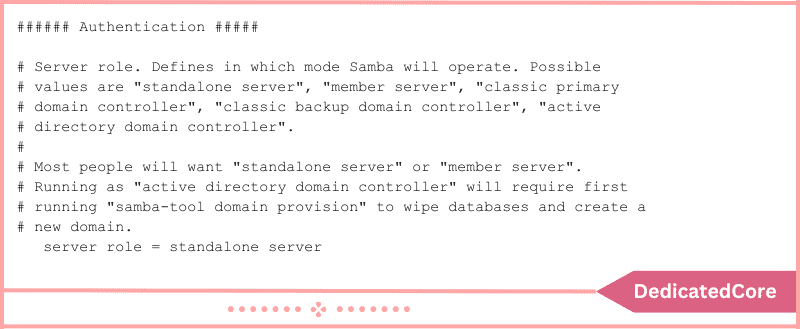
Domain, Authentication, and Additional
The server role is the most important authentication characteristic. The Samba server type is determined by this parameter.
1. Configure Samba as a separate server:
server role = standalone server
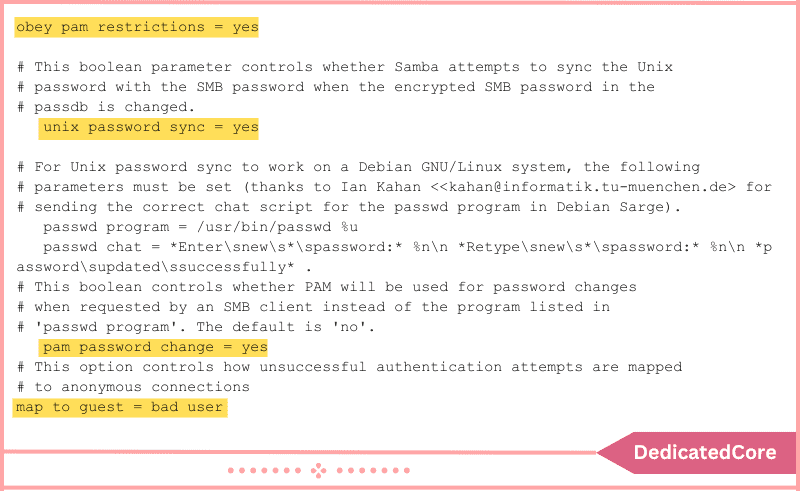
A complete list of additional authentication parameters is provided below:
obey pam restrictions = yes
unix password sync = yes
passwd program = /usr/bin/passwd
passwd chat = *Enter\snew\s*\spassword:* %n\n *Retype\snew\s*\spassword:* %n\n *password\supdated\ssuccessfully* .
pam password change = yes
map to guest = bad user
2. Scroll down to Misc and adjust the following, leaving the Domain subsection unaltered.
usershare allow guests = yes

Don’t modify any other Global Settings.
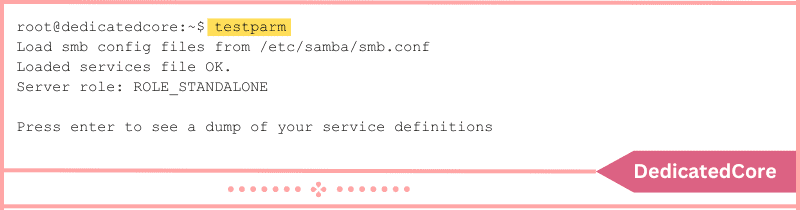
3. After saving and closing the document, use the Samba tool testparm to look for syntax errors:
testparm
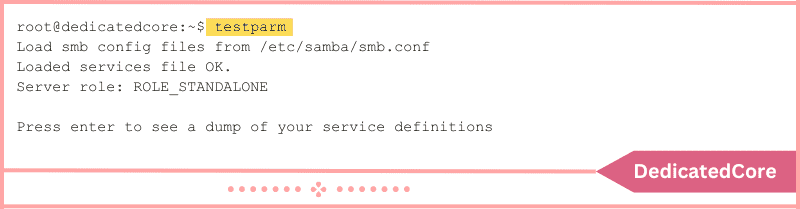
There are no syntactic mistakes as indicated by the Loaded services file OK message in the output. The Samba server is operational after Global Settings have been set up.
However, Samba’s functionality is limited if users and the directory are not configured.
Step 4: Create a User Account in Step Four
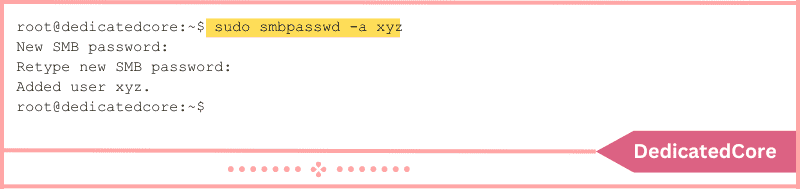
1. Enter your username and password to establish a user account with:
sudo smbpasswd -a username
Recall that a system user should be identified by the username. For instance, xyz is the Ubuntu system account in this scenario. As a result, the username is identical:
sudo smbpasswd -a xyz
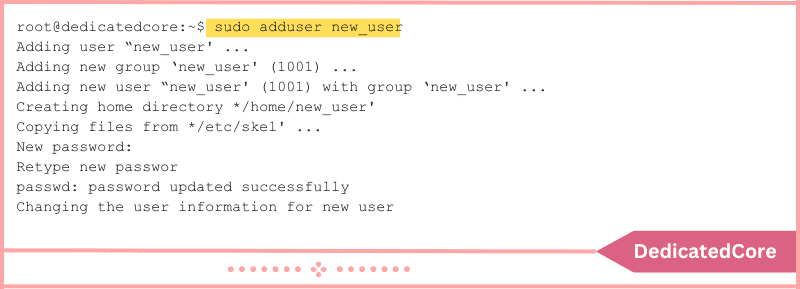
2. Use adduser to add a new user to the system and Samba:
sudo adduser username
To add new_user to the system, for example, use:
sudo adduser new_user
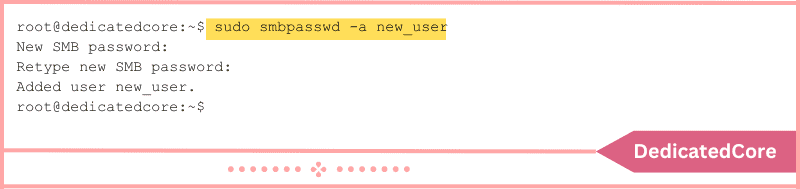
3. Create a new Samba user using the following after entering and verifying the system password for new_user:
sudo smbpasswd -a new_user
Subsequently, the shared directory must be accessible to both users in read, write, and execute modes. Xyz, however, already has these rights by default. Conversely, new_user does not.
4. Use setfacl to allow the sharing directory to be read, written, and executed:
sudo setfacl -R -m “u:new_user:rwx” /home/sharing
There is no output from the command.
Step 5: Set Up the Samba Share Directory
1. To add the previously created sharing directory, access the configuration file once more. Add the following at the end of the file:
[sharing]
comment = Samba share directory
path = /home/sharing
read only = no
writable = yes
browseable = yes
guest ok = no
valid users = @xyz @new_user
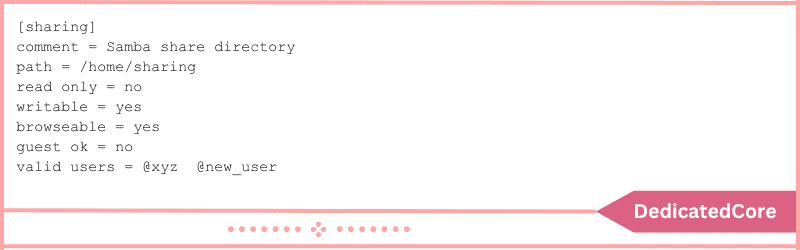
Specific rights to visit the directory are granted by each line. For example:
- [Dividing]: carries the name of the directory. Windows users see this directory location.
- Remark: acts as a description for a shared directory.
- route: The location of the shared directory is specified by this argument. Users can store the shared files under /samba, however, the example uses a directory under /home.
- merely to read: When set to no, this parameter gives users the ability to add, remove, or alter files within the directory.
- able to be written: When set to yes, it allows both read and write access.
- navigable: When set to yes, this parameter makes the Samba server and Samba share accessible to other computers on the network. If not, users can’t access the shared directory unless they know the precise name of the Samba server and can enter it in.
- visitor okay: This parameter prevents guests from entering when it is set to no. To access the shared directory, users must provide their login and password.
- legitimate users: The Samba share is only accessible to the aforementioned users.
2. Close the file after saving the changes.
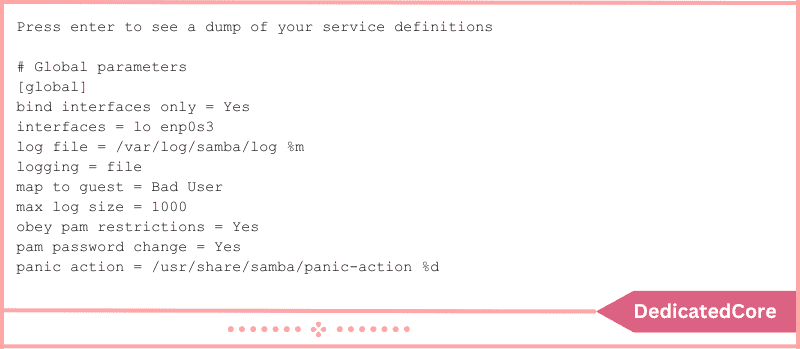
3. Start testparm again:
The output attests to Samba’s proper configuration. Press Enter to get a more verbose output:
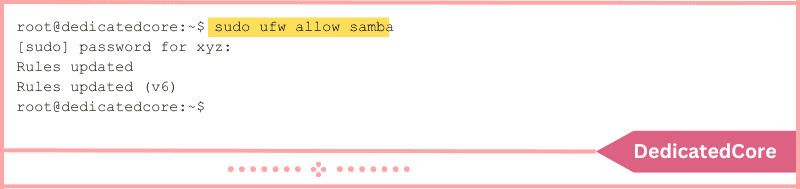
Step 6: Make Firewall Rules Updates
To confirm that Samba traffic is permitted by the Linux firewall, execute:
sudo ufw allow samba
Step 7: Establish a Shared Directory Connection
1. Restart the services using: before establishing a connection to the Samba server.
sudo systemctl restart smbd
There is no output printed by the command.
2. Use the built-in file manager and select Other Locations to establish a GUI connection to the shared directory:
3. Fill in the Enter server address… box with the following information, then click Connect:
smb://ip-address/sharing
4. A username and password are requested by the system. Give the information asked for and click “Connect again”:
5. By doing this, the Windows share’s location now includes the sharing directory: